
Reading A Constrained Scene
A lesson from a street-adjacent setup
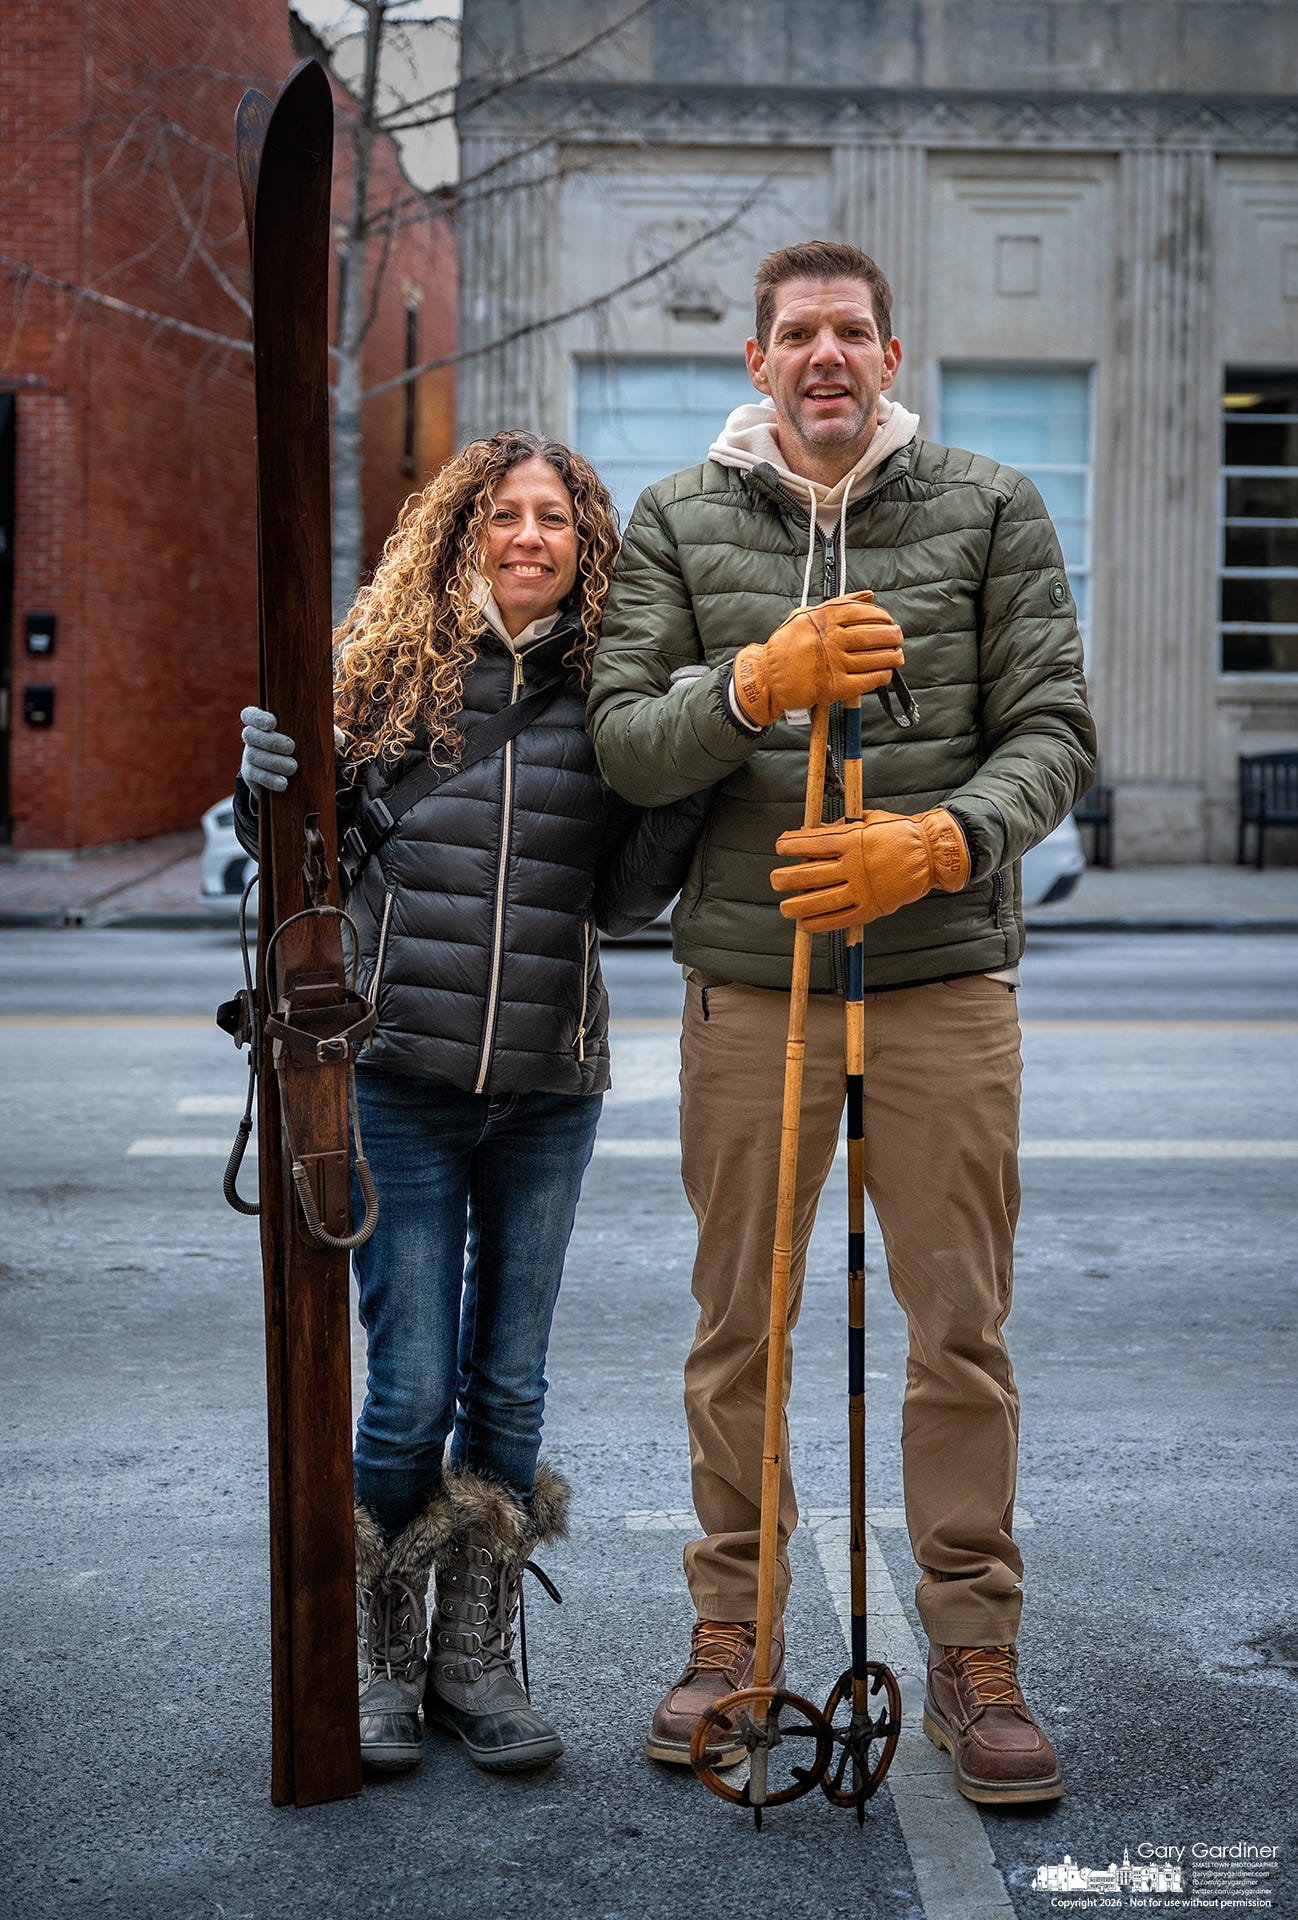
At first, the scene didn’t look promising. It was squeezed between parked cars on a busy street. Rather than look for a better spot, I decided to work with what I had and solve problems as they came up. The steps below show how I turned a cramped, awkward space into a usable frame. This is about making choices, not following strict rules.
Look at the location carefully before you start shooting. Notice what shapes the space. In this case, parked cars made it hard to move and set the frame’s boundaries. The main thing was to figure out what I could change and what I had to accept.
Change only what you need to. I moved a chair on the sidewalk to clear the foreground and stepped back a bit to open up the frame. These small tweaks eliminated distractions that would have drawn attention away from the subjects. Checking the frame edges early helped avoid issues later.
Next, I had to choose a focal length. Using the long end of a 24–70mm f/2.8 lens produced a shallow depth of field, helping separate the subjects. This worked for focus, but not for composition. The narrow view made the car in the background compete with the people in the foreground.
Instead of insisting on a shallow depth of field, I changed my priorities. Using a slightly shorter focal length made the background car less distracting, even though it meant more of the scene was in focus. The main lesson: in constrained scenes, prioritizing a clean, simple background is often more important than achieving shallow depth of field. Good separation comes from where you place things and how much they stand out, not just from blur.
Throughout this process, another concern ran quietly alongside the technical decisions: keeping the couple comfortable. To do this, I maintained an ongoing conversation, explained what I was doing, and made sure they never felt rushed or stared at. Much of the work happened without the camera at my eye. While continuing to talk with them, I was evaluating framing, timing, light, background movement, and subject placement. Time was spent standing, shifting position, choosing the strongest vantage point, and removing clutter. Once the scene was simplified and the variables were under control, the actual shooting was brief. Twenty-two frames were made in nineteen seconds. The eighteenth frame became the final image.
Timing mattered. I watched for red lights to catch moments when the background cleared. On the street, the best frame only lasted a few seconds. Waiting for these gaps was more important than changing camera settings.
Taking test shots helped clarify choices. Zooming changed the background and revealed how elements overlapped. I picked what gave the best balance between interaction and clutter.
After making these choices, I could stop worrying about technique. With the setup ready, I could focus on people’s gestures and timing. That’s the main point: sort out the technical details early so you’re ready when the right moment happens.

My Final Photo News is a reader-supported publication. To receive new posts and support my photography and commentary, become a free or paid subscriber. Subscribe to The Westerville News and PhotoCamp Daily. My Final Photo News also recommends Civic Capacity and Into the Morning by Krista Steele.
